


Some time ago I saw an article in Mother Earth News about making an Earth Oven. The bit I saw referred to an earlier article, Build Your Own Wood-fired Earth Oven as well as a book, Build Your Own Earth Oven, 3rd Edition: A Low-Cost Wood-Fired Mud Oven; Simple Sourdough Bread; Perfect Loaves by Kiko Denzer and Hannah Field. I got the book, and after cogitating for awhile, I decided to give it a try.
The book suggests building some trial, or experimental, ovens before setting out to make something more ambitious. And the Mother Earth article is based on an earlier, less elaborate version. The full-blown final version in the book is much better insulated, and more suited to frequent use for a wide range of cooking. Since the full-blown version is relatively permanent, and sits on a waist-high platform, it needs a good foundation, which means digging down to the frost line, about 31/2 feet here. That did not seem like too much fun, especially since it is in the 90's right now. So I decided to begin with baby steps. In this case that means first making a small version, with an inside diameter of about 9 inches and an outside diameter of about 12 inches. By comparison, the "standard" size oven in the book has an inside diameter of 22 inches.
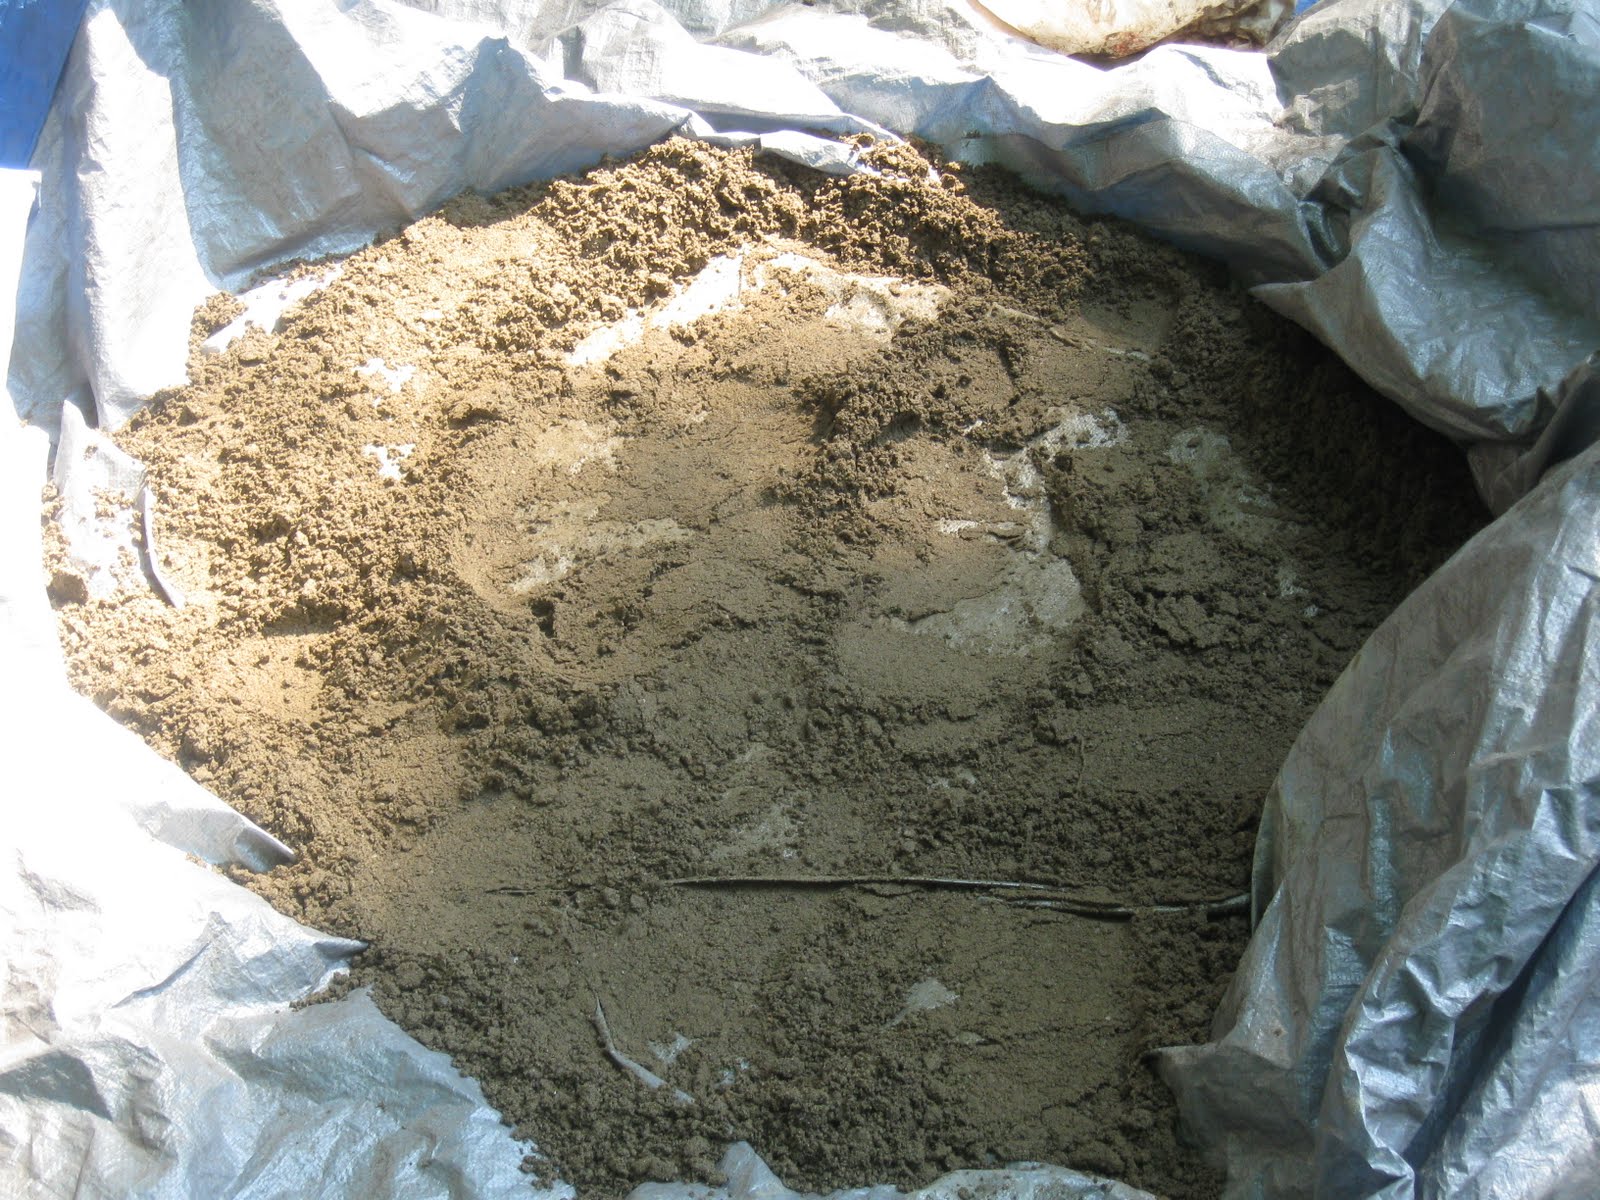
The earth for the earth oven is clayey subsoil, which we have in superabundance. This is then mixed with sand, which makes a sort of concrete.
The base of the oven is bricks laid on a bed of sand.

We (my Saintly Wife and I) then built a mound of wet sand, like a simple sand castle, on the bricks

Here you can see we added another brick at the back, for support.

The final dome was almost as wide as the base, and a little taller than it was wide.


We then covered the dome with
wet newspaper, to form a separation from the walls of the oven.

Next,
we started building, packing the sand/clay mix around the form. It is
important to press the clay firmly against itself, and not against the form,
which might distort it.

TA-DA.

After it had dried for a day I cut a door, which should be about 2/3 of the oven height.

Then, after another day of drying I removed the sand until I got to the newspaper.

I then built a fire to dry it completely. I had a little trouble keeping
the fire burning, so I made the opening a bit taller. This helped a
lot, but I did get a bit of tear-out at the top of the door.

Here you can see the width of the walls.

Once the oven was dry, it was time to try baking. The book makes it clear
that this is not really a functional oven--it is too small and thus
lacks the necessary thermal mass. The point of making it is to get a feel for the
construction technique and the materials before trying a larger oven.
Still, I decided to give baking a try.
I had
about a half pound of Quinoa Bread dough left over, so I formed it into a
boule and set it to rise. Then I started a fire in my oven.


Then
I let the oven rest for another 15 minutes to let the heat equalize,
and popped in my risen loaf. Since there was sand and ash on the oven
floor I placed the loaf on a piece of foil. I am not sure what the
inside temperature of the oven was at this point, but the outside of
the oven was too
hot to touch (trust me). My door is another piece of sheet metal, held
in place by some urbanite.

I
was a little concerned that the bread might cook too fast, since the
book notes that a pizza placed in a freshly fired full sized oven can cook in 3-4
minutes, but I needn't have worried. My oven just did not have the
thermal mass. I checked it a 15 minutes, and it was baking, but
slowly. So I left it in for another 40 minutes, by which time it was done!

The
crust was not crispy by any means, the oven did not stay hot enough for
long enough for that, but is was cooked and we had it for dinner.
So, since this was a learning experiment, what did I learn?
First
that once we got to it the oven was pretty easy to make. And fun. I
think I had too much sand in my mix, at least the finished building
material seemed sandy to me, but it worked, and got hard once it was fired, and I got a bit of a feel
for the material.
And I learned the importance of door height to getting a good fire.
So that is HB in 5 Bread Baked in a Wood-fired Earth Oven--Part 1.
You
will just have to wait and see whether there is a Part 2, which would
involve making a full-sized oven, albeit one at ground level on a sand base rather than waist height on a
foundation.
But I already have the bricks * * * .


Very Cool, Gus! I've always been intrigued with this idea but never quite had the oomph to give it a try. Looking forward to part 2!
ReplyDeleteI want one!! Wow!! I've been contemplating making one of these but didn't want a big one. Yours looks like the size I would like to have. Will be showing this to hubby. Yet another project on his to do list. Oh, well, at least he can get good eats from it. Thanks so much for sharing.. M
ReplyDeleteOh my gosh! That's so wonderful! I wish we didn't have such a heavily landscaped area so I could do this. Maybe I can get a friend to do it and we can share!
ReplyDeleteTHANKS!!!
Building this small oven was really a lot of fun and the bread was great!
ReplyDelete